
A trainer has a 45-slide onboarding deck and a 30-page policy handbook. Both work in a room, where the trainer explains each slide and watches faces for confusion. Then the team goes remote, and the deck gets uploaded to a shared drive. People click through it in four minutes, and nobody can tell who understood the expense policy and who skipped to the end.
A deck is built to be presented. Without the presenter, each slide is a few bullet points with the explanation missing, and a PDF in a folder never asks the reader a question.
This guide shows how to turn that deck into an online course that explains each topic and checks understanding with quizzes.
Quick answer: how to turn a PowerPoint or PDF into a course with quizzes
Upload your deck or PDF, let an AI course builder plan chapters and lessons from it, and review that plan before any lesson is written. Each lesson should explain one part of your material in full sentences and end with two or three questions. Before you share the course, check every question against the source file, and attach the original slides to the lessons so learners can still see them.
Three ways to turn slides into an online course
| Approach | What learners get | Effort | Best when |
|---|---|---|---|
| Upload the file as it is | The same slides, with no explanation and no questions | Minutes | It is a reference document people already understand |
| Convert slide by slide in an authoring tool | Your slides with narration, animations, and quiz slides you build in the tool | Hours to days per course | Visual fidelity matters and your LMS needs a self-contained SCORM package that runs offline |
| Rebuild the content as lessons with quizzes | Written lessons built from your material, with questions after each one | An afternoon of planning and review | The goal is understanding, and the slides were only ever speaker support |
The rest of this guide covers the third route. If you are starting from a topic instead of existing files, the teacher workflow for creating a course with AI covers that path.
Prepare your files before you upload
- Upload the original file. PowerPoint files (.pptx) and Word documents (.docx) go in directly, so there is no need to export a deck to PDF first. Save an old .ppt or .doc file in the newer format, since the legacy formats convert poorly. Decks over 60 slides are read up to slide 60.
- Avoid scanned PDFs where you can. A scan is an image of text, and TutorFlow reads it with OCR only for the first 50 pages. If the PDF came from a Word or PowerPoint file, upload that file instead.
- Keep each file focused. TutorFlow plans from the opening part of each file, and it reads more of the file marked as the syllabus than of the others. A 40-slide deck on one process gets covered in more depth than a 300-page archive.
- Pull explanations out of speaker notes. If the real explanation of a slide lives in its notes, paste those notes into a short document and upload it with the deck.
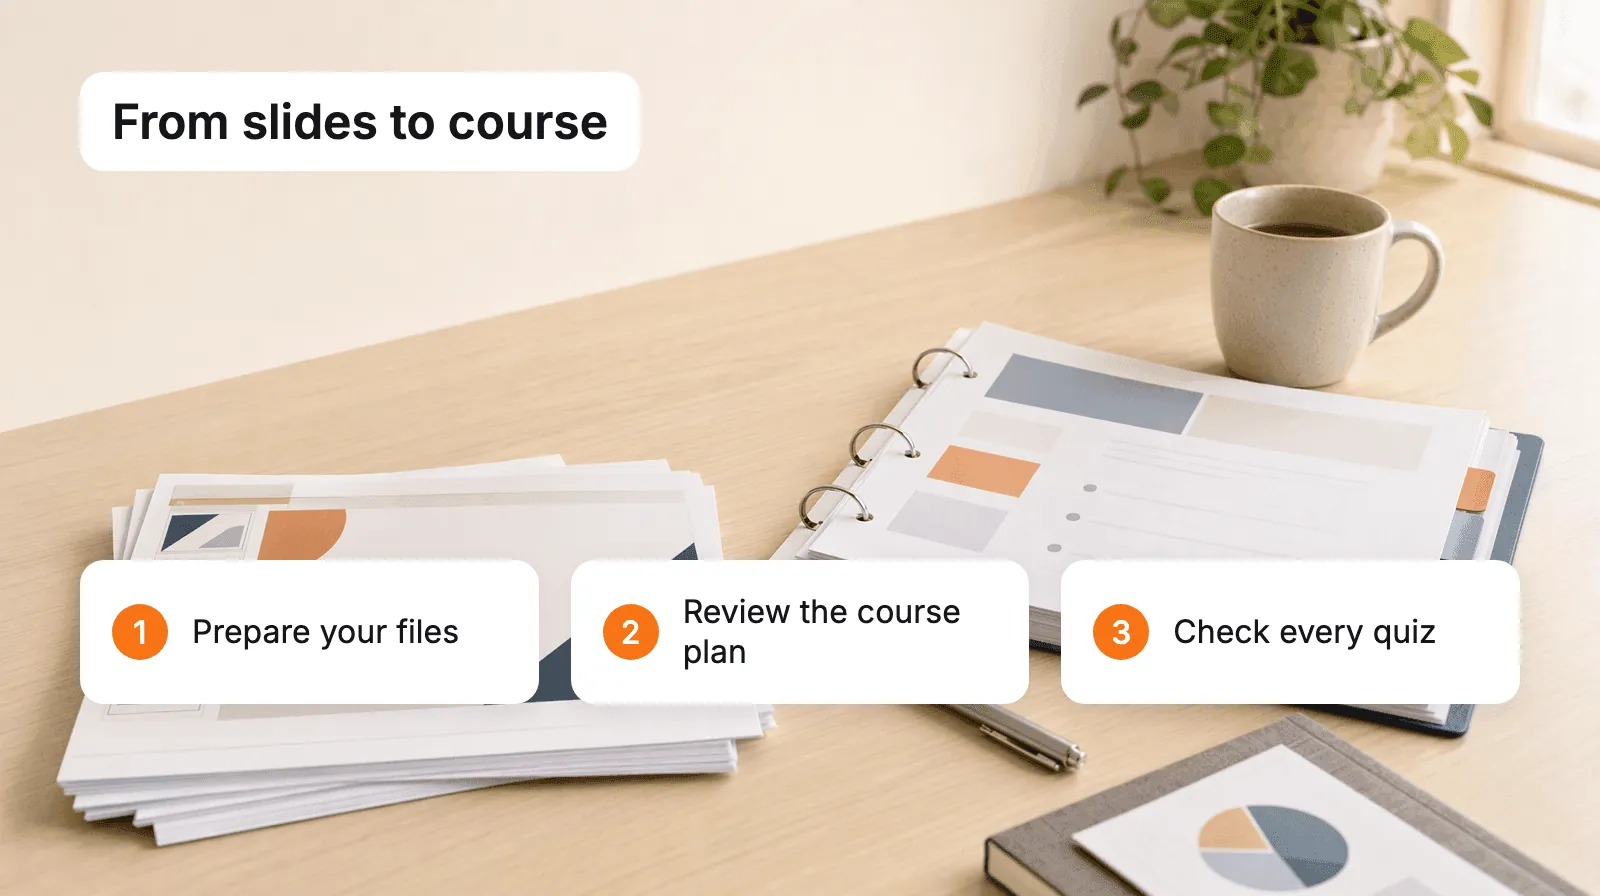
How to build a course from a PowerPoint or PDF
In TutorFlow, start a new course and enter a working title, such as "New Hire Expense Policy." Then:
- Choose Build from materials. This tells TutorFlow to plan the course from your files instead of from the topic alone.
- Add your files and label them. Each file gets a role: Syllabus, Textbook, Article, Slides, or Other. The first file is marked as the syllabus, so put your main deck or handbook first. Up to 20 files fit on the Free plan. Then select Analyze references.
- Answer the planning questions. TutorFlow asks who the course is for, what learners should be able to do afterwards, and how you want to teach it.
- Set the course length yourself. Course length is set in weeks, with a number of lessons per week. When your file has no schedule of its own, choose these numbers instead of leaving them on Auto. Keep "Add 2-3 quiz questions per lesson" switched on.
- Edit the plan in Curriculum Preview. Rename, reorder, or delete lessons, and set the number of quiz questions per lesson. Nothing has been written yet, so changes here cost nothing.
When you confirm the plan, TutorFlow writes the first chapter right away. You can write the remaining lessons all at once or one at a time as you review.
Each lesson explains its topic in full sentences, using your material's examples and terms. Slide images do not carry over, so attach the original file to keep diagrams and charts in view.
How to check AI-written quiz questions
Treat AI-written questions as a first draft. TutorFlow writes multiple-choice, fill-in-the-blank, and true or false questions. Each question has a hint that learners see after a wrong answer and an explanation they see after a correct one.
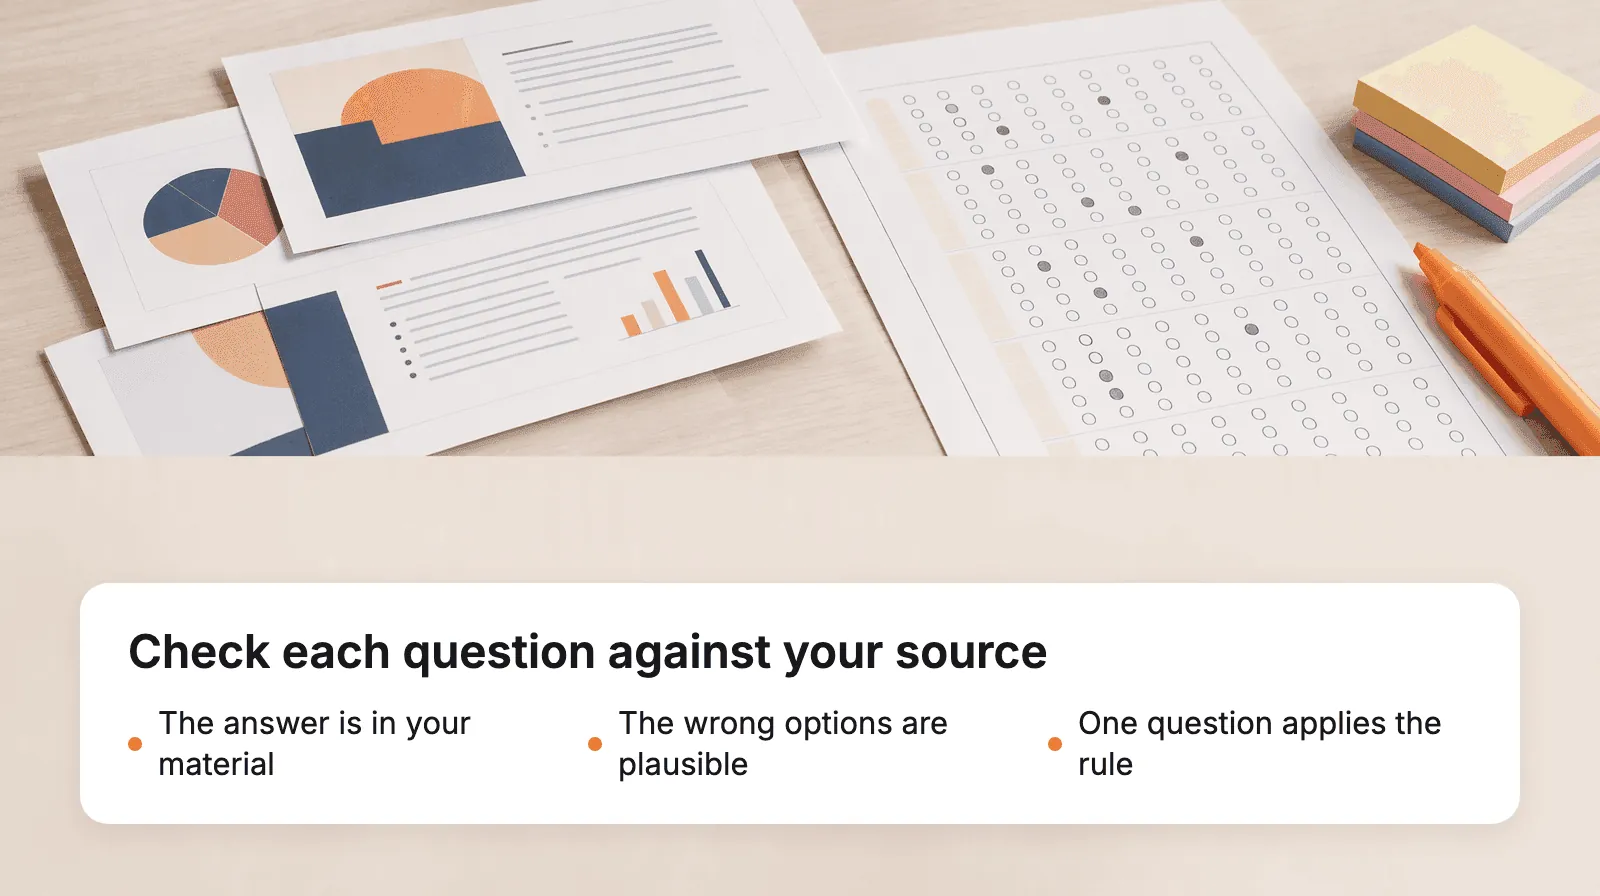
Review each lesson's questions with your source file open:
- The answer is in your material. A question about a rule your company does not have is worse than no question.
- The wrong options are plausible. If two of four options are obviously silly, the question tests nothing.
- At least one question asks learners to apply the rule. "Which receipt can be claimed?" checks more than "What is the claim limit?"
- The explanation teaches. A learner who guessed right should still learn why the answer is right.
Open Edit Lesson to rewrite a question, change its options, or add questions, up to ten per lesson. If a lesson's quiz misses the point, delete the weak questions and select AI Generation in the Quizzes tab to write new ones from the lesson for 1 credit.
Keep the original slides one click away
Export the deck to PDF and attach it to the matching lesson in its PDF File field. The PDF shows beside the lesson, so diagrams and charts the lesson text describes stay visible. The Allow PDF download setting decides whether learners can also save a copy.
Share the course and see who understood
Publish the course to your online classroom and invite learners. As they work through it, quiz results show the correct rate for each question and for each learner. A question most learners miss usually points to a lesson that needs a clearer explanation, or to a question that needs rewriting.
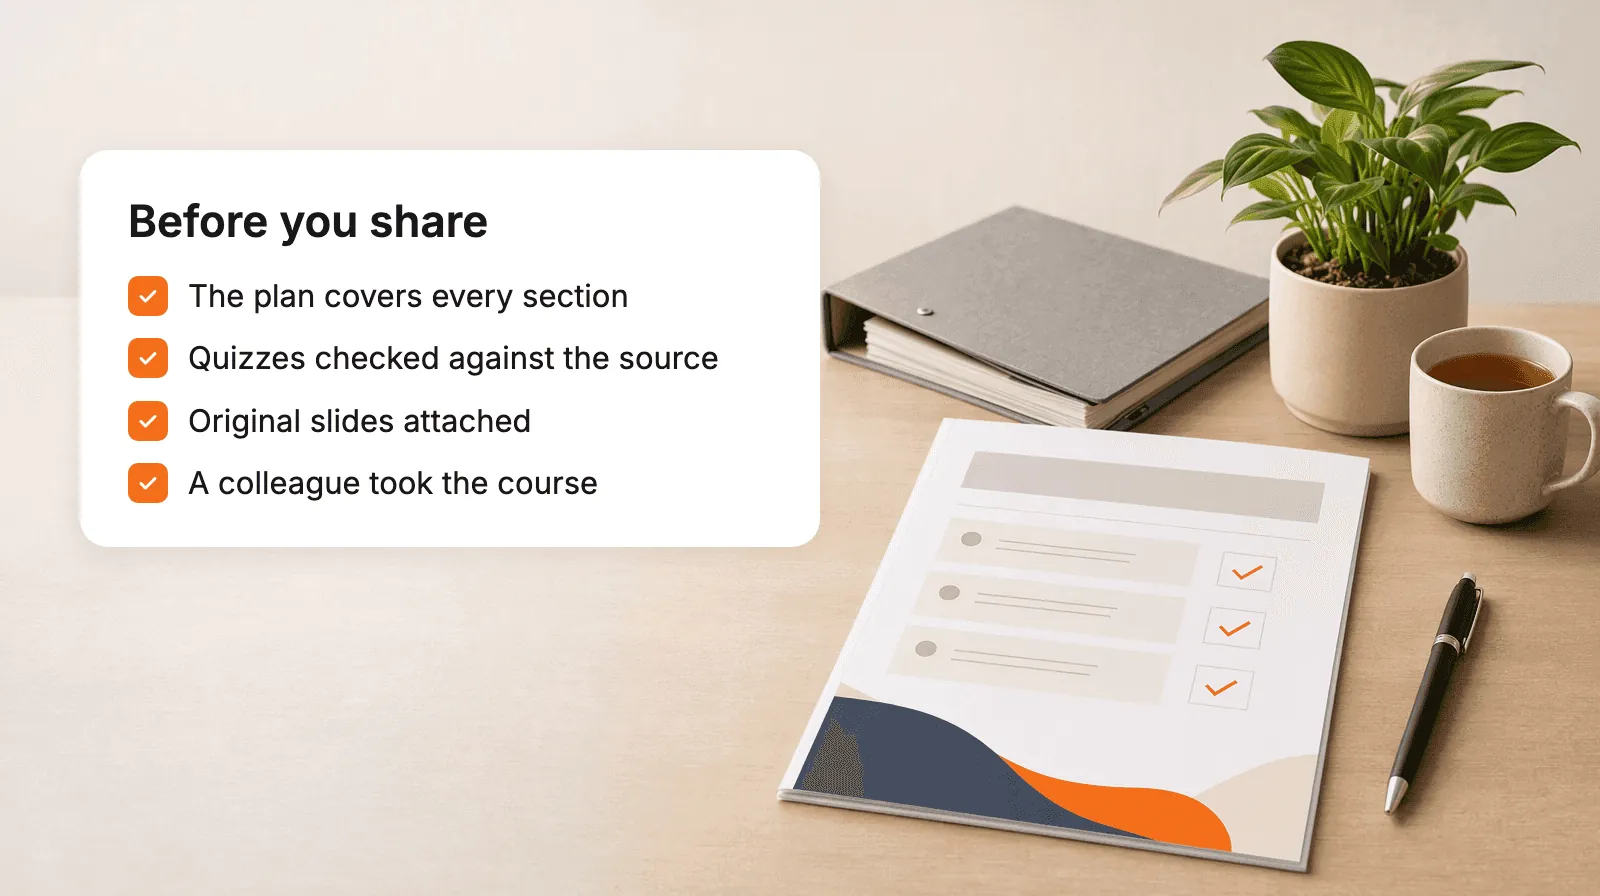
Before you send the invite, check four things:
- The plan covers every section of your source, in a sensible order.
- Every quiz question has been checked against the source.
- The original slides are attached where learners will look for them.
- One colleague has taken the course from start to finish.
When an authoring tool is the better fit
If your LMS must host a self-contained SCORM package that runs without an internet connection, or the slides themselves are the product, an authoring tool that imports PowerPoint, such as iSpring Suite, Articulate Storyline, or Adobe Captivate, fits better. Plan for more hours per course, since you build each slide, interaction, and quiz slide in the tool.
Start with one deck you already teach
Pick the deck you present most often, usually onboarding or a core procedure. Upload it to TutorFlow Courses, review the plan, and send the first chapter to one colleague. Their wrong answers will show you where the slides relied on you to explain.
FAQ
Can I turn a PowerPoint into an online course for free?
Yes. Analyzing files is free, the course plan costs 3 credits, and each lesson with its quiz costs 3 credits. A four-week course with two lessons a week uses 27 of the 60 credits a new Free account starts with.
Does TutorFlow write the quiz questions automatically?
Yes. Each lesson comes with two or three multiple-choice, fill-in-the-blank, or true or false questions about its content. You can edit or add questions, or generate more with AI, before you share the course.
Will the course be in the same language as my slides?
The course follows the language of the title and answers you type, unless you choose a language yourself. If your deck is in Spanish and you want a Spanish course, choose Spanish, or type your title and answers in Spanish.